
Planning a wedding involves many details, but one of the most intricate tasks is figuring out the seating arrangements. It’s not just about placing names on a chart; it’s about ensuring harmony, managing relationships, and creating an inviting atmosphere for all your guests while they enjoy their evening meal and listening to the speeches. Here’s your comprehensive guide to mastering the art of wedding seating planning with Be My Guest Design.
Why Allocated Seating is a Smart Move for your wedding
Weddings bring together a diverse group of people, often from different parts of your life. Family dynamics, friendships, and past relationships all come into play. By having an allocated seating plan, you can minimise potential dramas and ensure everyone feels comfortable. If you can do something to minimise the chance of drama taking away from the shine of your big day, you would, right? It’s your special day, and a bit of planning can go a long way in making it a joyous occasion for all.
Determining Your Wedding Reception Space
Let's not rush in and order signage or stationery you don't need! Take some time to plan out what you are going to need first. Here's the steps you should take:
Create a Floor Plan
Sketch a floor plan to scale or use software to assist you. Prioritise your head table and arrange guest tables around it. Ensure there’s enough space for guests to move comfortably without feeling too crowded. Find out what size the tables available are (or how many people are recommended to sit at them).
If you are getting married at a venue experienced at hosting weddings then this should be straightforward - they’ll know how many people can fit at their tables, and how many tables can fit in their space. The venue might even have floor plans you can use.
If you are using a marquee for your wedding reception, or setting up hired furniture in a hall, it can be a bit more complex. This is the point where a wedding coordinator, planner or stylist becomes invaluable, and is typically a core part of their offerings.
Determined to DIY? No stress! It’s doable - just a little bit more planning, number crunching and fiddling round. A bit of preparation now will make setting up the day before a whole heap easier!
Tips for DIY Seating Arrangements:
- Know your space: Create a floor plan to scale, either on paper or using software.
- Decide on table shapes: Different table shapes have their pros and cons. Long rectangular tables maximise space, allowing a greater seating capacity, plus it's easier for guests to talk. There is more flexibility to how the tables are arranged over round tables. Round tables are seen as a more traditional option and afford your guests more leg room.
Grouping Your Wedding Guests
Once RSVPs are in (or even if you’re still waiting on a few), start grouping your guests. Here’s how:
Categorise Your Guests:
- Immediate family
- Extended family
- Friends
- Colleagues
- Others (like plus-ones)
Practical Tips:
- Group couples together - except for bridal party members, if you're seating them at the head table.
- Use colour coding or separate lists to keep track of categories.
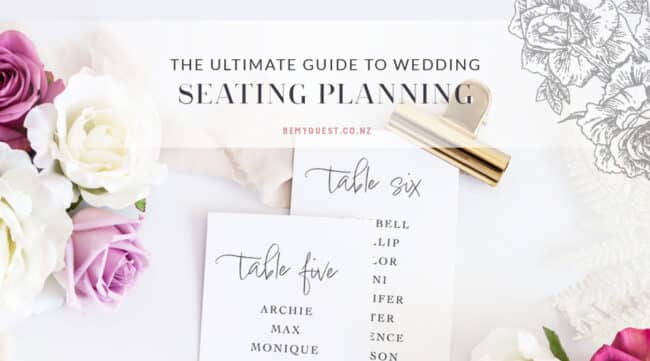
How to plan your table seating plan
Arranging Guests into Tables
At this point I find using Excel or Google Sheets handy, as you can easily shift guests around between tables. If you're using our Wedding Planning Templates you are all sorted! If you are still using pen and paper to compile your list, now the time to begin transferring it to the computer. This is not the seating plan that the guests will read from, so don’t waste time trying to make it look pretty.
- Create columns for each table: Label the columns with your table names/numbers. Underneath each table name, leave the number of cells empty that the table can fit. In the next cell below, write down how many people can fit at that table.
- List your guests: Copy your guest list into the spreadsheet, off to the side away from the tables.
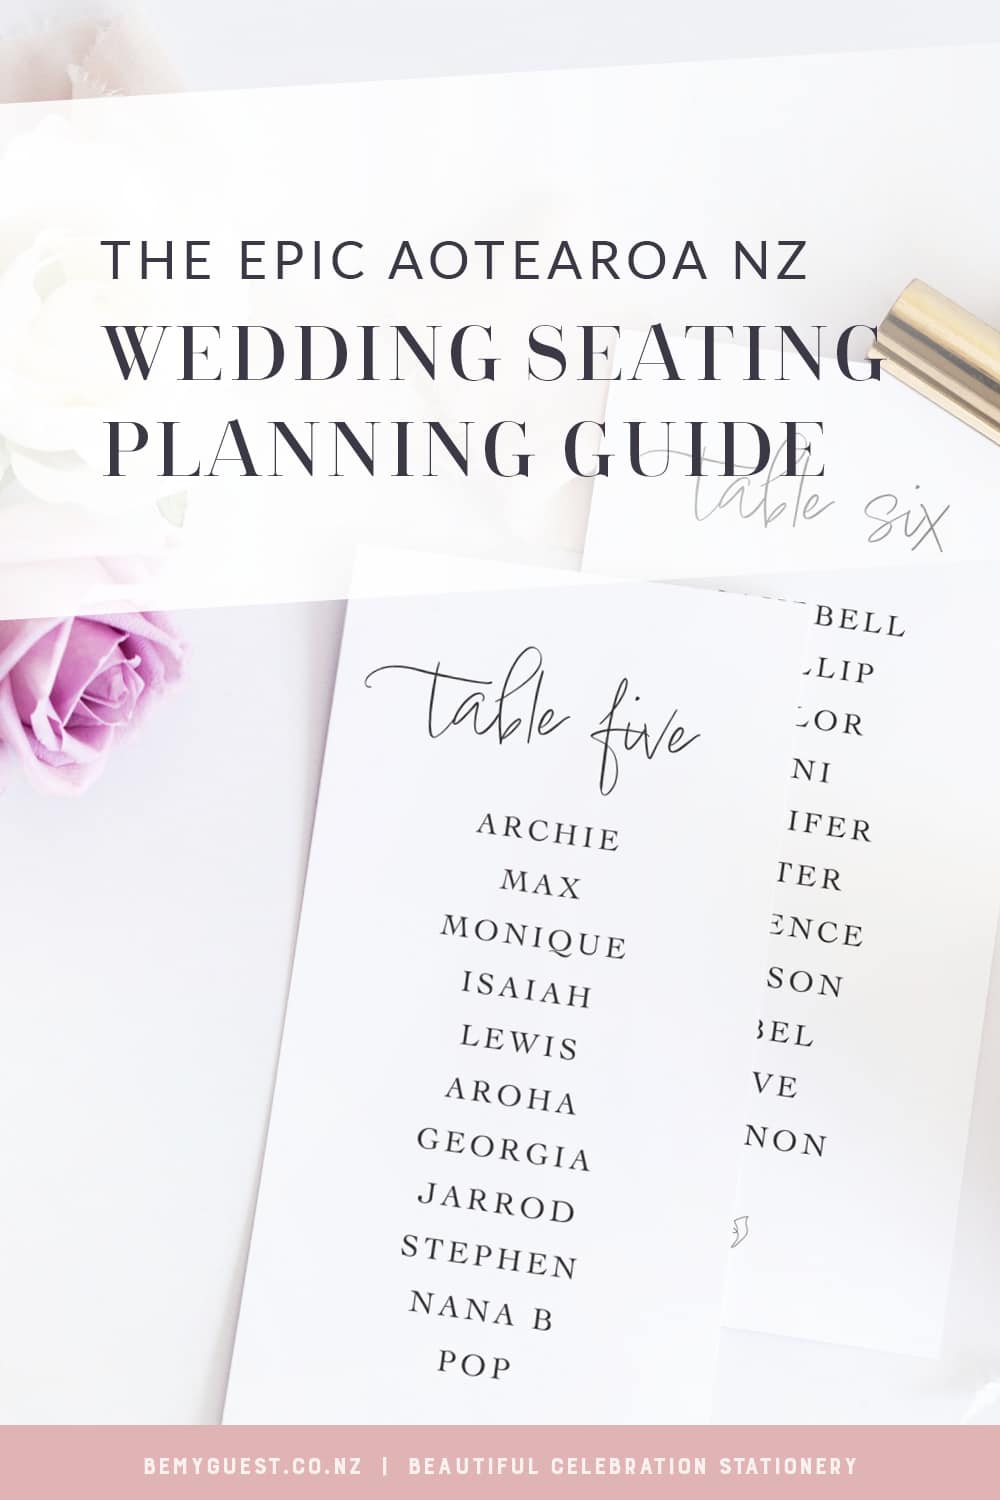
- Allocate seats: Cut and paste guests under each table heading. Start with the easy one - that’s the top table, aka the head table or bridal table. Next, do tables holding your immediate family and your partner’s immediate family. These are usually the first couple of tables.
You’ll have something that looks like this:
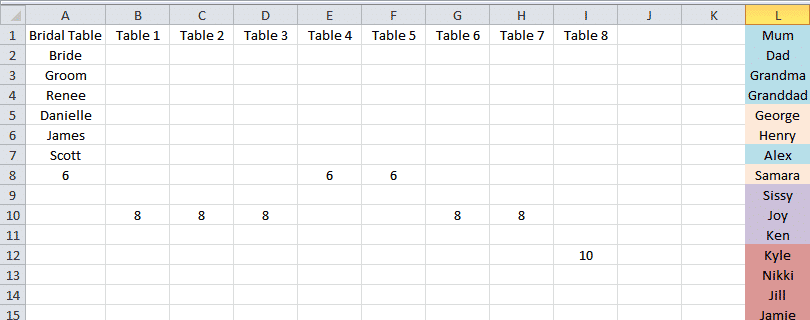
Some groups of guests might need to be split over a couple of tables, depending on their dynamics. If you still have room to seat people at the family tables, you could seat the bridesmaid/groomsmens partners, close friends of the family that don’t know anyone else, or favourite extended family members.
In addition to seating guests by how you know them, you can also consider their age, interests, and backgrounds. Try to make every guest feel comfortable with a mix of familiar and new faces at each table.
If you want to avoid drama and seat certain people away from others, then put them at separate tables first and work round them. You're not doing it for them, you're doing it for you - you don't want unnecessary tension or drama. But also remember in the scheme of things, if you get it a bit wrong, it won't matter. They'll only be sitting there for the evening!
- Adding guest’s names to wedding invitations & stationery
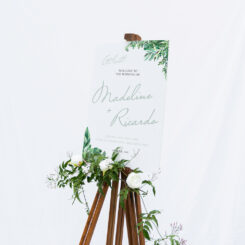
 Personalising invites with your loved one's names is an elegant introduction to your wedding festivities.

Conveying Seating Arrangements to Your Guests
Once you have figured out who will be sitting where, your next step is deciding how you will communicate to your guests who is sitting where. Imagine being a guest trying to find their seat in a large room of tables. It's overwhelming!
Your options for sharing the reception's seating arrangements are:
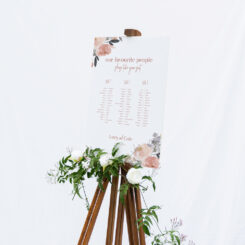
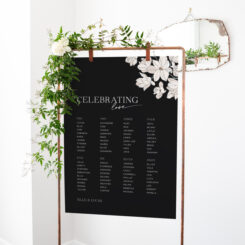
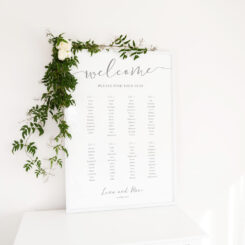
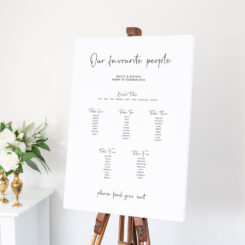
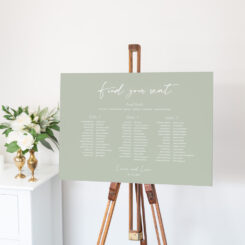
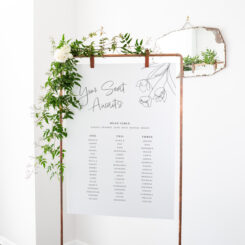
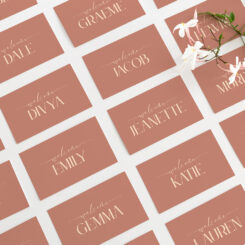
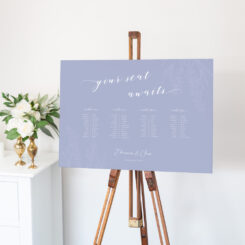
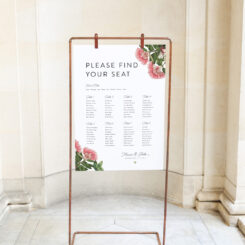
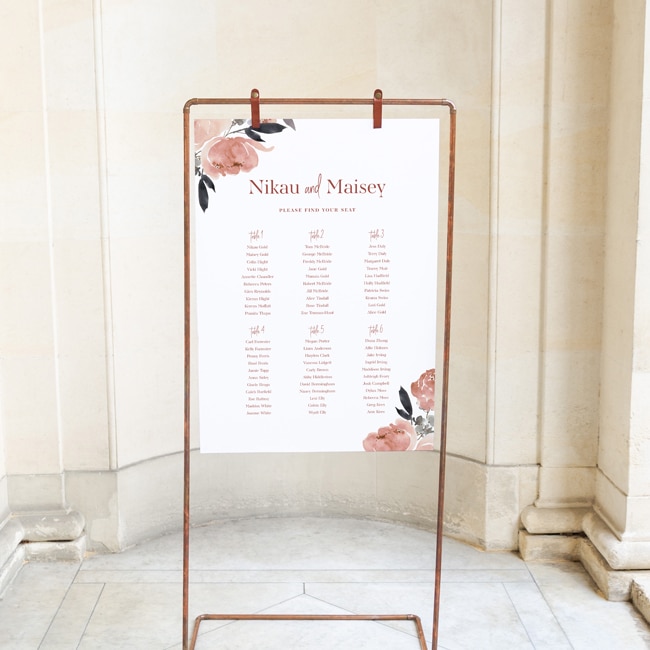
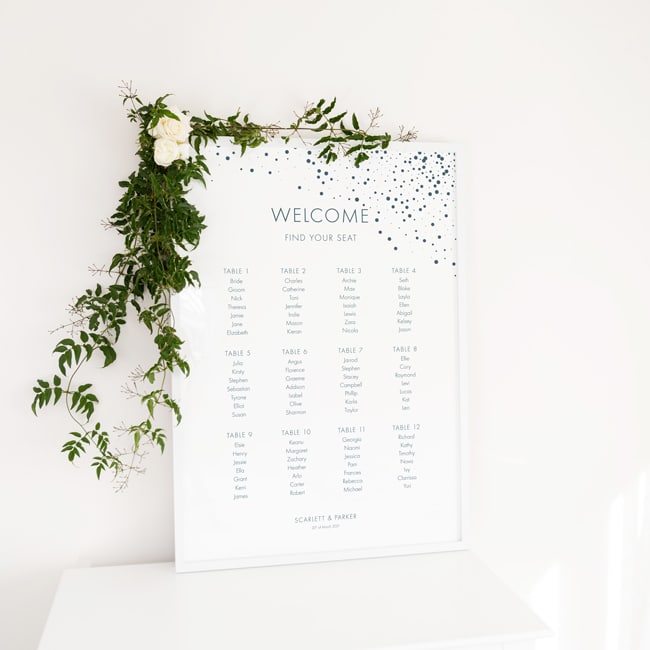
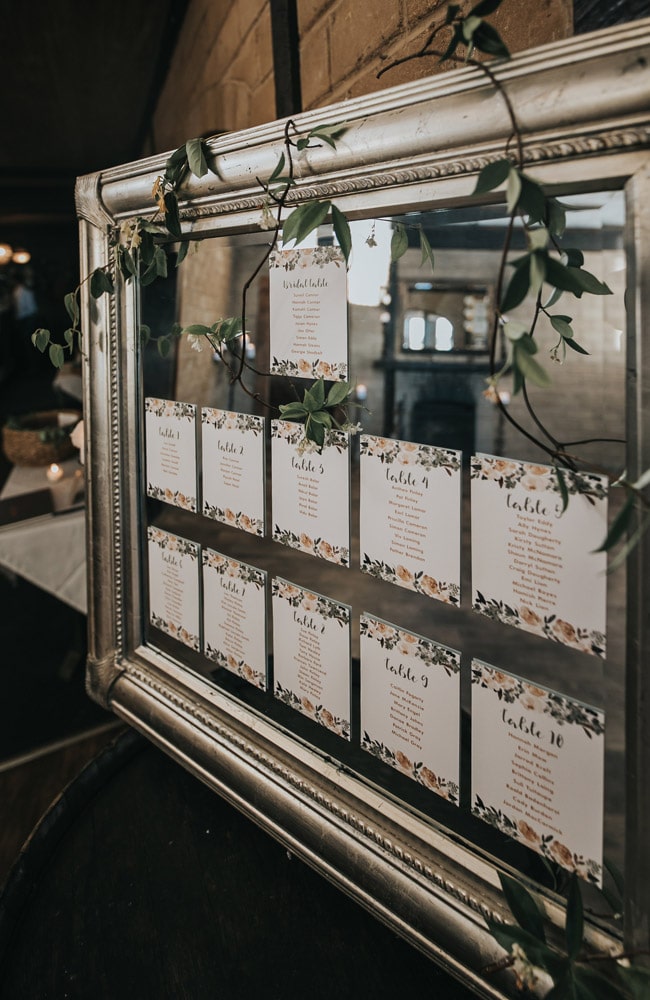
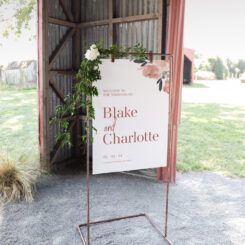
- Seating Plan: A chart showing table assignments. Using just a seating plan means guests refer to the chart, then pick a seat at their allocated table.
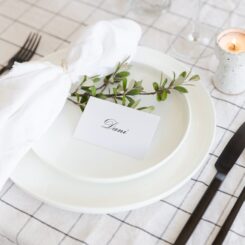
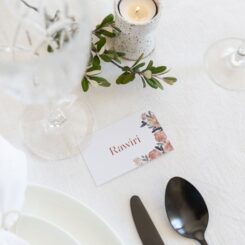
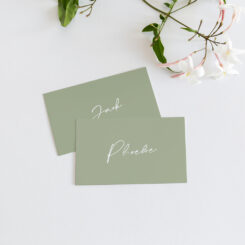
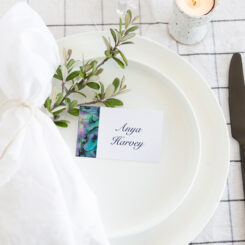
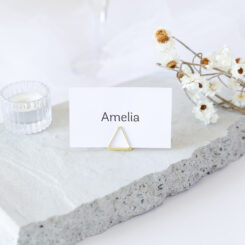
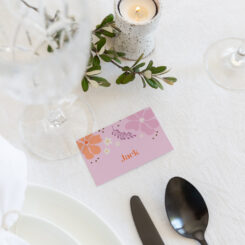
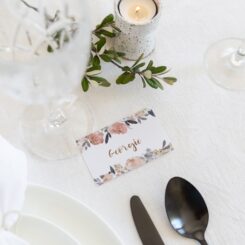
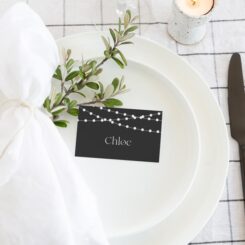
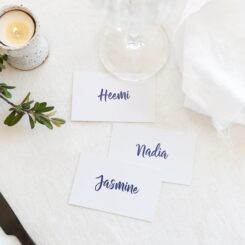
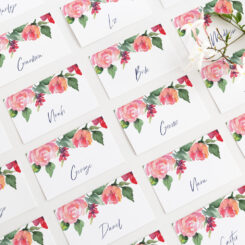
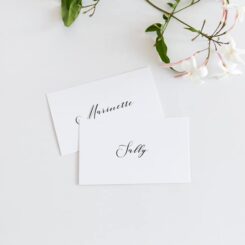
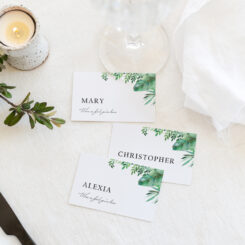
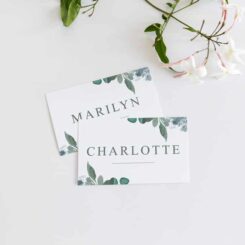
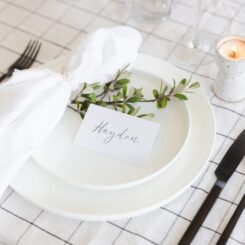
- Place Cards: Cards at each seat with guests' names. Just using placecards means your guests will have to look around each table till they find their name.
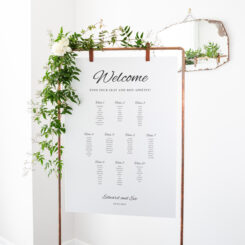
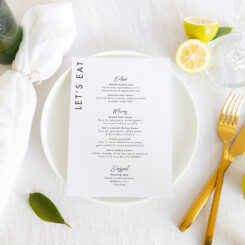
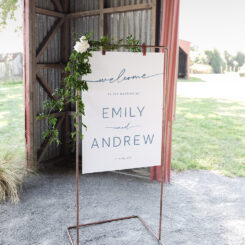
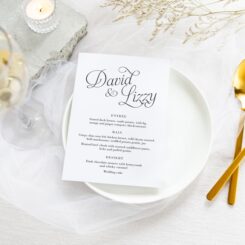
- Both a Seating Plan & Place Cards: We recommend using both for clarity and ease. If you use both, your guests can see what table they are at. Then when they find their table, the placecard will direct them to their allocated seat. You can use a placecard, or a menu with individual guest names printed on them, or even named tags tied to their favours.
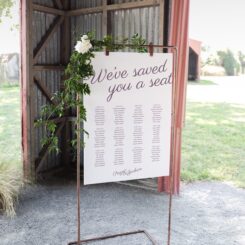
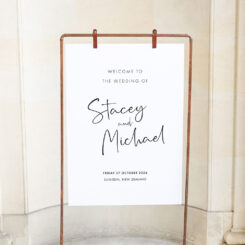
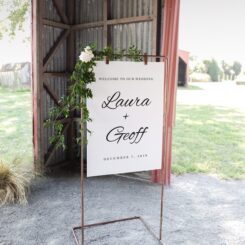
It is your personal preference and/or budget that will determine what option you choose. My recommendation is having a seating plan at minimum, as this acts as a focal point for arriving guests and manages the flow of guests through the room.
Designing Your Wedding Table Seating Plan and Place Cards
This is where Be My Guest Design comes in to help. We offer a range of predesigned seating plans, making the process simple and stress-free. Designing your seating plan then placing your order (here's a wedding stationery timeline for when you need to do that). Naturally, most of the seating plans we design are for wedding receptions, since couples love to match their wedding stationery to their Be My Guest designed wedding invites, but our seating plans can also be used for formal dinners at school reunions, sports reunions and corporate events.
When you are placing an order for a wedding seating plan, it is as simple as browsing our range of seating plans and deciding what sort of sign type and size. Here’s some guidelines:
I like this seating plan design, but can I change colours?
Yes! Changes to the orientation, colours, layout and wording of your seating plan and signage is not an issue. Simply note what you require in the Customisation field. Your designer will add your details, adding or removing information as requested, and tweak the design to your preferred wording and colour scheme.
Seating Plan Printing Options
You can select from a range of different sign printing options to suit different budgets and display styles (i.e. whether you want to display your plan on an easel or using a photo frame). All our signage is designed and printed in Dunedin, NZ. Printing our stationery in-house allows us to control quality and turnaround times.
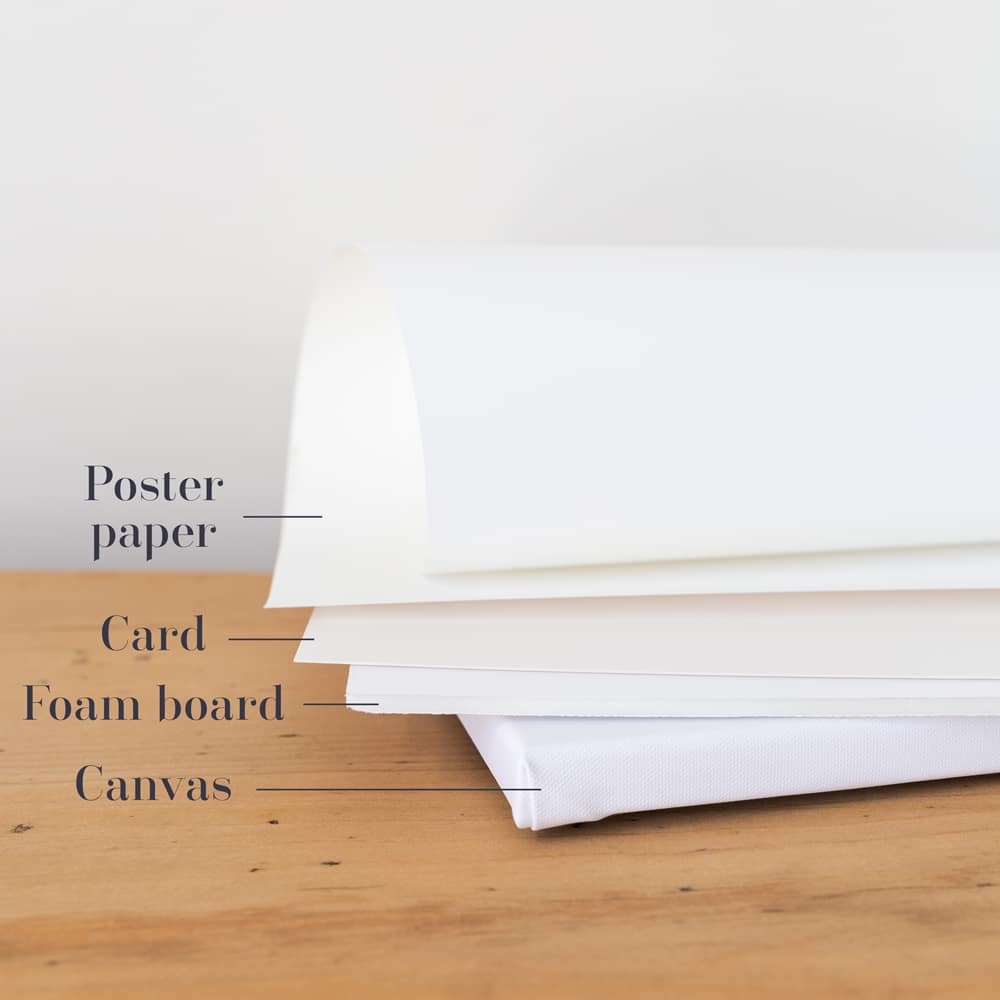
Each of the printing types comes with its own advantages and drawbacks. Read through the summary of each of the printing methods below to figure out which one works best for you:
Foam Board Seating Plan Printing
Foam board signs are manufactured by first printing onto a flexible matte self adhesive vinyl. It is left to cure then laid onto a 5mm thick foamboard. These result in a lightweight, rigid option that is suitable for professional framing, can be propped on an easel or hung from a sign stand. If you are hanging from a stand, you can cut hanging points into the material with a sharp craft knife.
This is the most popular signage print type offered - they offer a good balance of size vs cost.
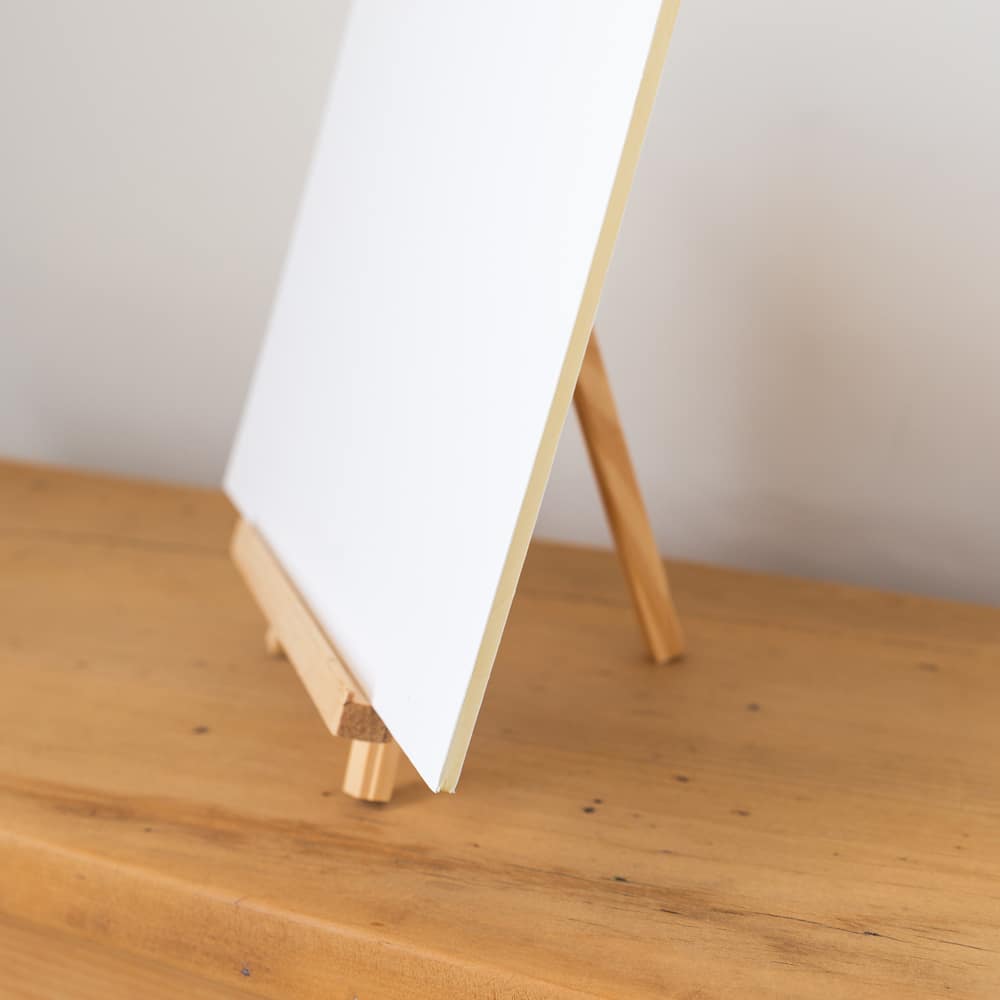
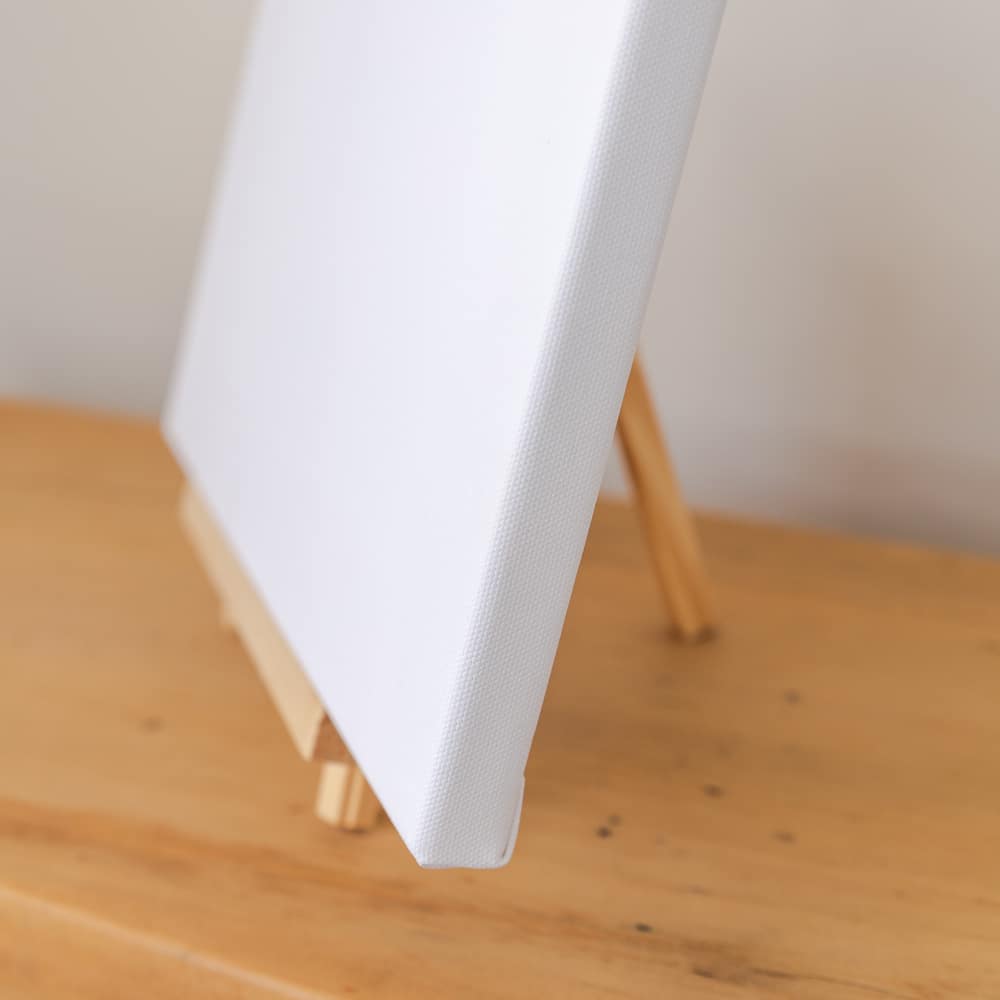
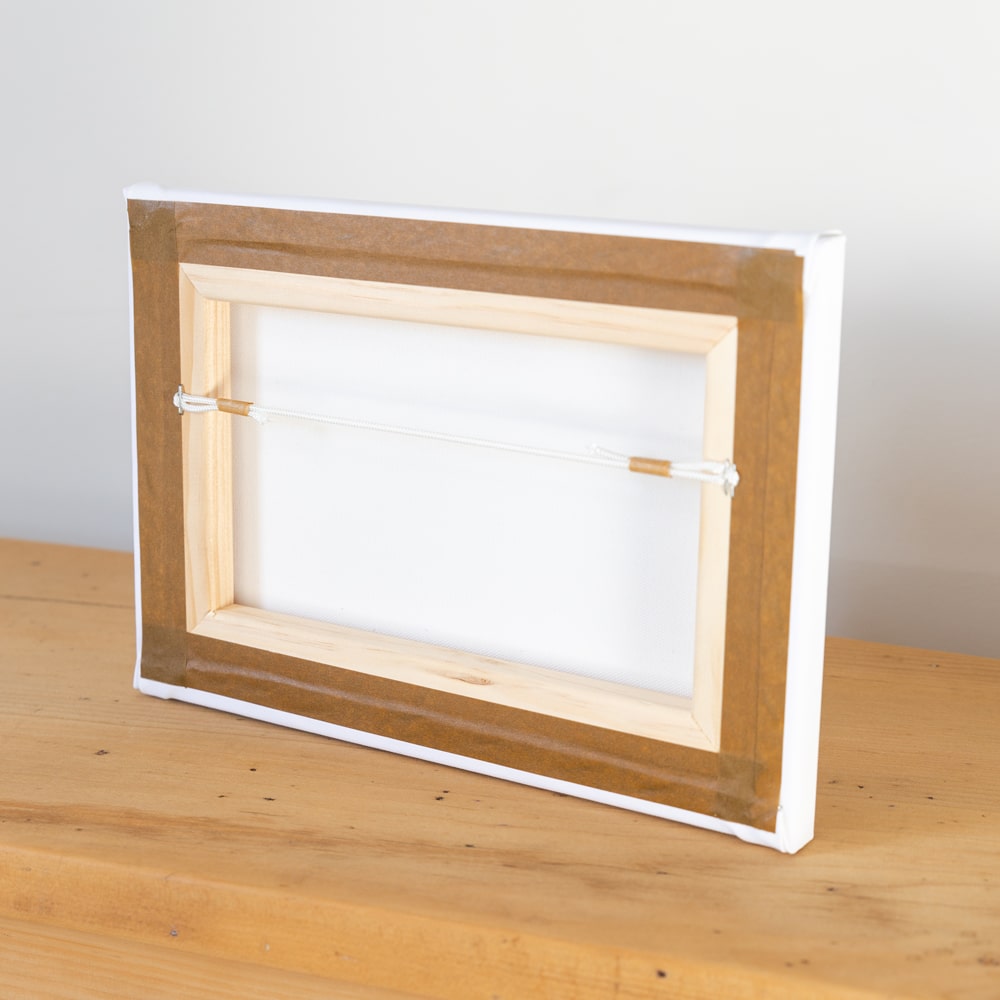
Canvas Seating Plan Printing
Stretched canvas signs are an elegant, timeless option for your seating plan. Your artwork is printed directly onto a lightly textured canvas, which is then stretched over a 20mm frame. Ready to set on an easel or hang on your wall. They are a seamless, sleek and modern option.
This type of seating plan takes the longest to be printed – allow up to three weeks for design, printing and shipping.
Poster Paper Seating Plan Printing
Our seating plans and signs are printed onto durable, waterproof 220gsm synthetic poster paper. This option needs to be framed (i.e. it won't stand up by itself). Pop your framed print against a wall or on an easel.
Tip // pick a frame that you'll reuse for your wedding photos!
Card Seating Plan Printing
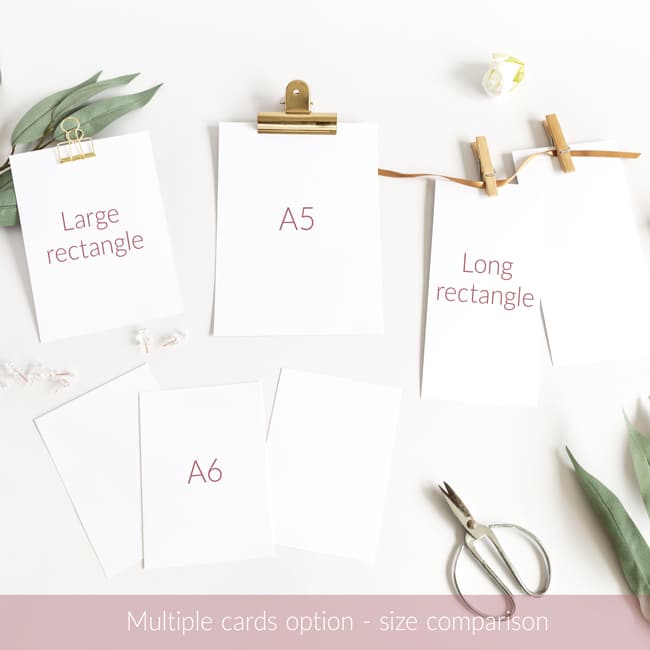
Seating plans and signage from A3 or smaller can be printed onto cardstock. You can have one larger card or set up individual tables over multiple cards, clipped to bespoke seating displays.
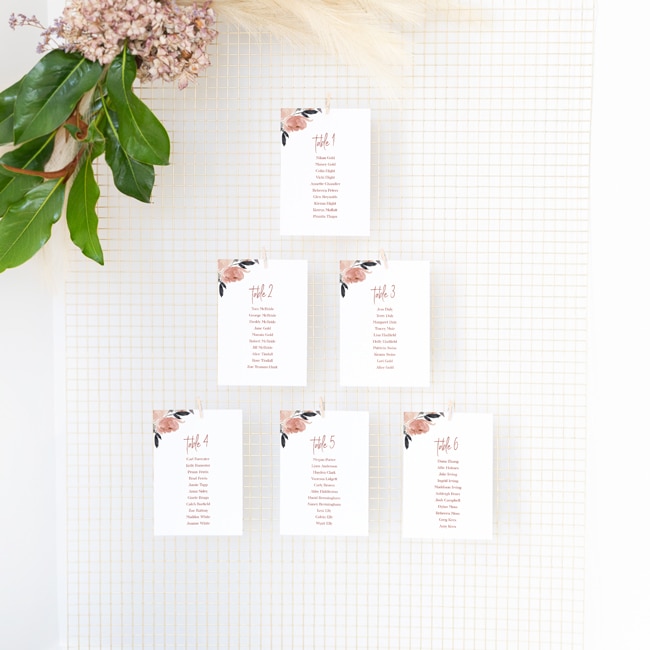
You simply select the size that suits the frame you have in mind (A6 and Long rectangle are the most popular choices).
If you have purchased your wedding invitations through Be My Guest, you can pick the same card to match the rest of your stationery pieces. Or order the wedding invitation sample pack for physical swatches of the card options on offer:

Choosing the Right Wedding Seating Plan Size
One of the most common questions we receive is “what size seating plan should I use for my wedding?".
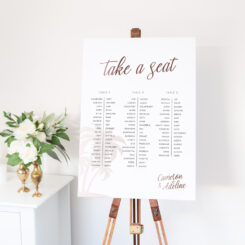
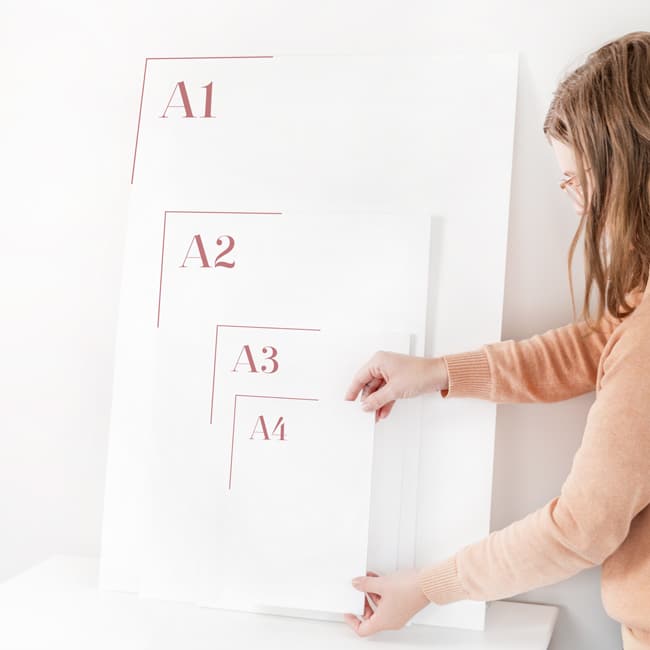
The most popular size is an A1 sized sign. But the best seating plan size for you is the size that will work with your space. We adjust and tweak the tables to hold as many or as little guests as possible (and even accommodate guests with really long names). The layout of the design can be changed to suit long trestles or lots of smaller tables.
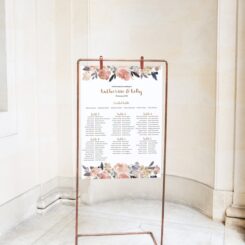
- A1 signs work perfectly if using a floor standing easel. A1 foam board seating plans are by far the most popular option we offer.
- A2 size is perfect when your seating plan is going onto a tabletop easel. This is the next most popular size.
- A0 is fine for big spaces but can be too big if you have a tight space. We only offer this size as a poster print because it's too big to ship in the other print types.
- A3 suits small guest lists only. Otherwise the font gets too small to be legible by guests arriving and crowding around the plan. (Here's the dimensions of 'A' sizes that we use, if you're curious.)
Think back to the primary purpose of your seating plan. It is to efficiently direct wedding guests to their seats. The seating chart needs to be easily readable and large enough for several people to read at once while crowding around it as they enter your wedding reception.
Laying Out Your Wedding Seating Plan
Send us a typed up list, and we’ll handle the rest. The spreadsheet you’ve created in the steps above is perfectly adequate to send through to us. We love something uncomplicated! Then we can copy and paste, which ensures we avoid any typos (we are human beings after all). We can use the same list to create your placecards if you've opted to get them as well.
You can choose to have your seating plan grouped by table (most common for NZ weddings) or alphabetically. Alphabetically is good for large weddings (200+ guests).
Your personal designer will help ensure your signage says just the right thing, guiding you on appropriate etiquette if needed. We are here to help! Once your designer has put together your seating plan, you'll be sent an electronic copy to check over. When you give us the ok, it'll go into production.
Coordinating Wedding Stationery & Signage
As lovers of stationery, we love knowing everything is matching! You can find matching Guestbooks, Day-of Stationery and Thank You Cards to pair with your wedding's seating plans and welcome signs.
-
 Lovely Lucy Bar Menu Sign
 -
Dreamy Greenery Advice for the Newlyweds Cards
-
Simple Blush Advice Cards
-
Cheeky Vibes Advice Cards
-
Pōhutukawa Table Numbers
-
Modern Meadow Bar Menu Sign
-
Au Naturel Place Cards
-
Nautical Drinks/Bar Menu Sign
-
Traditional Monogram Bar Menu Signage
-
Nautical Wedding Order of Events Sign
-
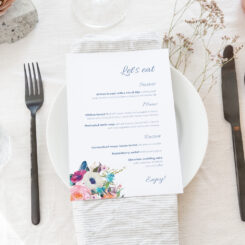
Floral Abundance Menu
-
Sweet Charlotte Menu

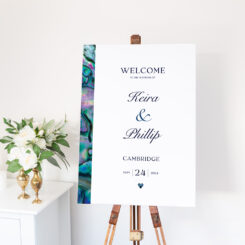
When you order a large-format seating plan, you can add a matching sign in the same print style at a discounted rate, as we can package your signage together and save some postage! By default this is a "Welcome" sign, but let us know if you'd like something different on your extra sign (like an 'Order of Events' or 'Menu' sign).
-
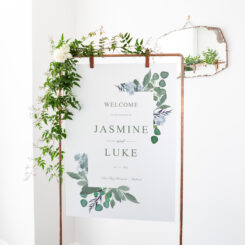
Luxe Paua Wedding Welcome Sign
-
Lovely Lucy Bar Menu Sign
-
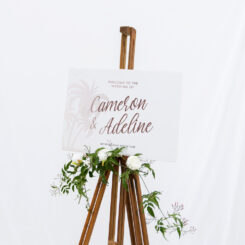
Autumnal Welcome Sign
-
Modern Meadow Bar Menu Sign
-
Nautical Drinks/Bar Menu Sign
-
Traditional Monogram Bar Menu Signage
-
Mod Geometric Wedding Welcome Sign
-
Nautical Wedding Order of Events Sign
-
Nautical Wedding Welcome Sign
-
Dainty Wreath Wedding Welcome Sign
-
Floral Abundance Menu
-
Sweet Charlotte Menu

Printing and Delivery Timeframes
How long will my seating plan and signage take to be printed?
Allow two weeks for design and printing of your seating plan*. Faster turnarounds are possible with urgency fees.
It’s important to give us as much time as possible - here's a wedding stationery timeline for some guidelines. Allowing plenty of time ensures you receive your seating plan and other stationery pieces well before your set-up day. Then you can relax and know you’ve got everything you need for your wedding day.
If you need your stationery urgently, you can submit it for Express production and we will prioritise your order in the production queue. You're also able to upgrade to Overnight shipping. Remember to account for the Christmas/New Year holidays in your calculations and allow for any shipping delays.
*Canvas seating plans can take up to three weeks due to the assembly process.
-
Modern Meadow Wedding Welcome Sign
-
Cheeky Vibes Drinks Menu Sign
-
Lush Foliage Wedding Welcome Sign
-
Abundance Wedding Welcome Sign
-
Simple Script Menu
-
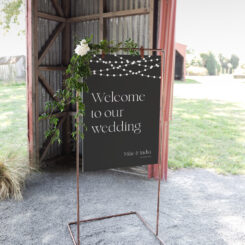
Fairy Lights Wedding Welcome Sign
-
Modern Meadow Menu
-
Dreamy Greenery Welcome Sign
-
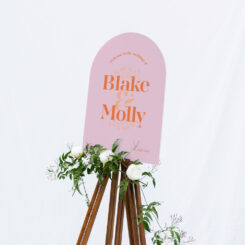
Bright Vibes Welcome Sign
-
Tropical Welcome Sign
-
Love Birds Welcome Sign
-
Copper Romance Welcome Sign

Setting Up Your Stationery for the Wedding Reception
When you receive your order, open it up straight away and check everything is correct. If there are any issues it pays to know about them in plenty of time. After you've opened up your seating plan for a double check, re-wrap it into the packaging it came in, so it stays in mint condition till the wedding day.
Doing a pegboard or similar? Your individual guest plans are pretty much ready to go straight out of the packaging. Please do a test run to make sure you have everything you need, that the size fits well and your pegs or clips will hold them.
Organising Place Cards
Sort place cards into the tables your guests will be sitting at. Store them in labeled ziplock bags with the corresponding table number. Then, during setup, you won’t have to shuffle through the whole stack of place cards.
We hope this guide has provided valuable tips and tricks for planning your wedding seating. Browse our range of wedding seating plans and get in touch if you have any questions. Let Be My Guest Design help make your special day as stress-free and beautiful as possible.
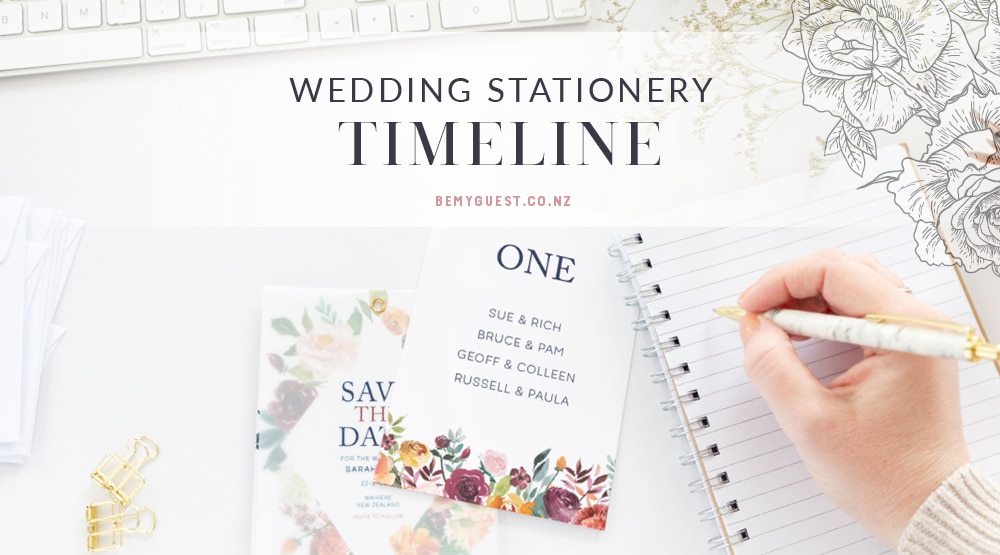
Your Essential Wedding Stationery Timeline & Checklists
This wedding invitation timeline has been developed to help New Zealand couples identify the important milestones to meet when planning, ordering and sending save the dates, wedding invitations, signage and day-of stationery
Wording Wedding Invitations
Wording your wedding invitations is easy with this guide. Learn the rules for wedding cards wording, plus example wording for wedding invites
The Best Pens for Signing Guestbooks
We’ve trialled tons of pens for signing guestbooks. Check out the different options and things to consider.
Adding guest’s names to wedding invitations & stationery
Personalising invites with your loved one’s names is an elegant introduction to your wedding festivities.
Wording Wedding Dress Codes
Wording what wedding dress code can be tricky! Here we have examples of the different dress styles and how to specify wedding guest attire
The Ultimate Wedding Thank You Card Guide
Writing your wedding thank you cards is the final wedmin task. We’ve put together the “The Ultimate Guide to Wedding Thank You Cards” to help
How to Apply Custom Wine Labels
Custom wine labels are a fantastic way to personalise gifts for any occasion. Here’s everything you need to know about creating, removing, and applying custom wine labels, ensuring your bottle looks perfect.
Wedding Gift Wording
Advice, tips and examples for how to ask for specific gifts on your wedding invitations, including cash/wishing wells and registry options
When to send out your wedding invitations
This New Zealand-specific guide covers when to send out wedding invitations to friends and family – so they have all the details to attend!
Following up guest RSVPs
Here’s our top tips for following up wedding guests who haven’t RSVPed, including our ‘magic email’ template for getting some certainty