
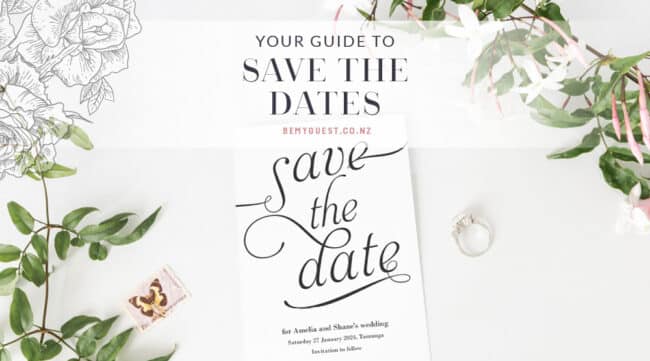
Save the Date Cards are used to announce your wedding date to your wedding guests, giving your friends and family the best possible chance of attending. Today's post shares everything you need to know:
Why send Save the Date Cards?
Life is busy, and there are a lot of things going on. A wedding is an exciting addition to the calendar - but it can be a juggle to add another event or weekend away to the mix!
Giving your guests plenty of notice gives you the best possible chance of having everyone you want attending. Think of a Save the Date as a heads up, giving your friends and family plenty of time plan their travel arrangements, organise child care, start budgeting and/or apply for time off work.
Do you really need Save the Dates?
Whether you send Save the Dates or not is an entirely personal preference. Just remember, having that extra notice allows your wedding guests the best chance of being able to attend.
Giving your guests additional notice also helps if you're planning a destination wedding and/or your wedding is planned over a long weekend.
You can also compromise and only send Save the Dates to family and close friends - the people you'd be absolutely guttered to miss on your wedding day.
What information do we put in our Save the Dates?
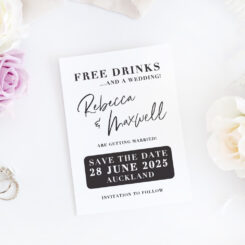
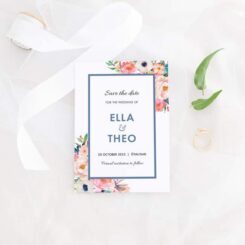
Keep it simple! The minimum is to mention your names and the wedding date. It's helpful to also include:
- a general location (naming the city or area, rather than the specific venue, is perfectly fine!).
- If you have a wedding website, you can include this as well.
- A line noting "formal invitation to follow" clarifies that further information will be sent in due course.
When do you send Save the Dates?
Ideally, you'll send Save the Dates between 18 months and six months before your wedding. One year is ideal. You need to strike a balance between too far out and guests forgetting or putting off making plans. Too soon and guests may have other commitments. Here's more information on when you need to send your Save the Dates and Wedding Invitations.
Do we have to send Wedding Invitations if we send Save the Dates?
Yes! A Save the Date is an indication you’re invited, but it’s not THE invite. Save the Date Cards don't include much detail because quite often you haven't narrowed down all the finer detail when you're that far out.
How do I order Save the Dates from Be My Guest Design?
We make ordering your Save the Date cards as stress free and simple as possible.
Step 1: Order your Save the Date
First, find the Save the Date design that appeals to you. Remember, all designs can have colours, wording and layout changed, so the design you select is just a starting point.
When you are ready to place your order, you'll be prompted to make some optional choices. If you're not sure, your designer can arrange a manual upgrade while processing your order (before you confirm your order is ready for print). The typical choices we offer are:
Card Type
The card type you want your Save the Date printed onto. We have more information on card types here or you can order a Wedding Invitation Sample Pack which gives you the whole range of card swatches so you can see them in person.
Envelope Colour
We include White, Black or Kraft envelopes to match the size of your Save the Date. These are all high quality, NZ made envelopes.
Rounded Corners
When you select this option, we round the corners of your Save the Date cards
Layered Invitations
Some Save the Dates have the option to be made into a Layered Invitation.
Guest Names
If you want to pre-print your guest names on their individual invitations, you can opt to do this by selecting this option.
Printed Proof
If you select this option, once the digital design of your Save the Date is finalised, we’ll send you a physical printed proof for your inspection. This tangible copy allows you to see and feel the design on your selected cardstock in real life, ensuring every aspect aligns with your expectations, down to the finest detail.
Envelope Seals
A 30mm circle sticker to seal your envelopes. Your designer will ensure this matches your final Save the Date design
Paperclips
Pretty teardrop paperclips are a popular addition for clipping photos and other extras to your Save the Dates.
Magnets
Add self-adhesive patch magnets so that your guests can pop your Save the Date on the fridge!
Step 2: Customising your Save the Date
You'll then get to the 'Customisation' field. This is where you supply the wording/details for your Save the Date. You can note any other changes at this point too - such as changing the colours.
Once your order has been submitted, it will be assigned to one of our design team. Your designer will review your notes and will design your Save the Date. This part of the process can take 1-2 working days.
She'll email you an electronic mockup for your review. You can make changes, or if everything is perfect, let us know ASAP and it can get into print production!
Step 3: Printing your Save the Date
As soon as you tell your designer that your Save the Date is good to go to print, then she will process your Save the Date file and send it through for printing. The print team will print your Save the Date to your chosen card stock, checking it prints as expected and then finishing the card to the final size and with any of your add ons. This process typically takes 1-2 working days.
Step 4: Packaging and Sending your Save the Date cards
When your order is ready to go, the team will package your Save the Dates, envelopes and any other extras into a courier parcel.
-
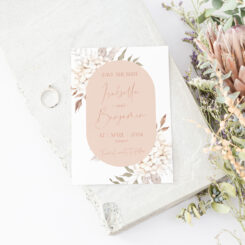
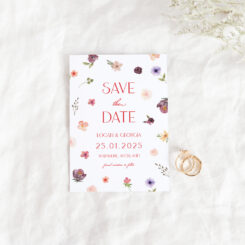
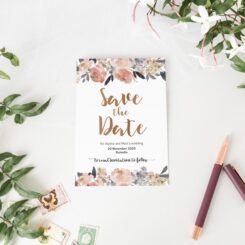
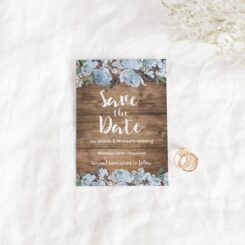
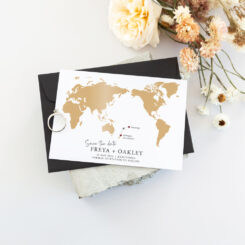 World Map Save the Date
 -
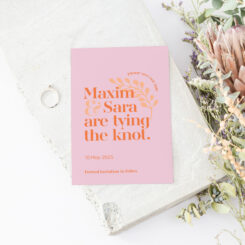
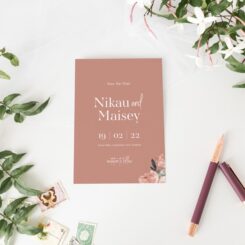
 Calendar Vibes Save the Date
 -
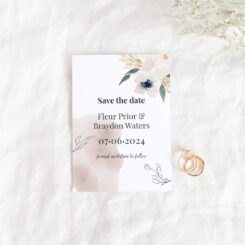
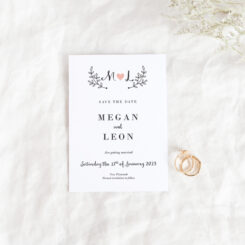
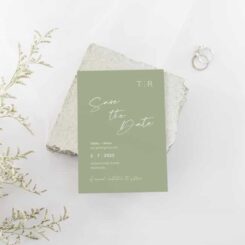 Modern Meadow Save the Date
 -
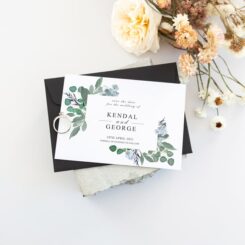 Dreamy Greenery Save the Date
 -
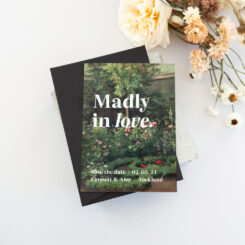
Fleur Save the Date
-
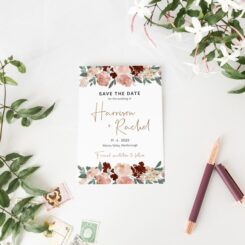
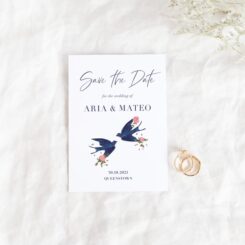
Rose and Bird Save the Date
-
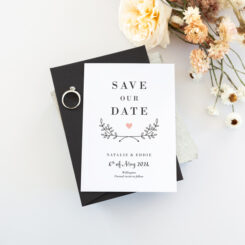
 Save the Date Printing
 -
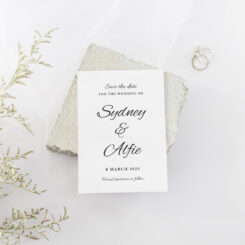
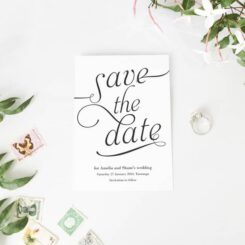
Simple Script Save the Date
-
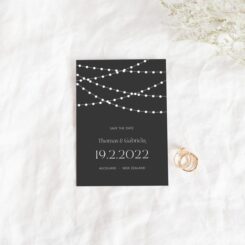
Fairy Lights Save the Date
-
Modern and Elegant Save the Date
-
Enchanted Barn Save the Date
-
Copper Romance Save the Date
-
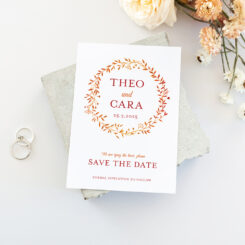
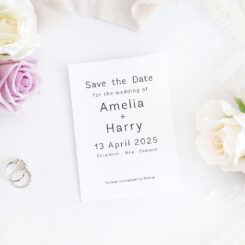
 Millenia Save the Date
 -
 Beautiful Peonies Save the Date
 -
Rustic Wreath Save the Date
-
 Rustic Leaves Save the Date
 -
Rose Meadow Save the Date
-
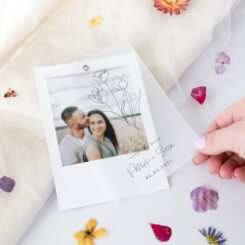 Lovely Lucy Save the Date
 -
Autumnal Save the Date
-
Fairytale Garden Save the Date
-
Cheeky Vibes Save the Date
-
Rainbow Hearts Save the Dates
-
Red Deer Antlers Save the Date
-
Floral Abundance Save the Dates


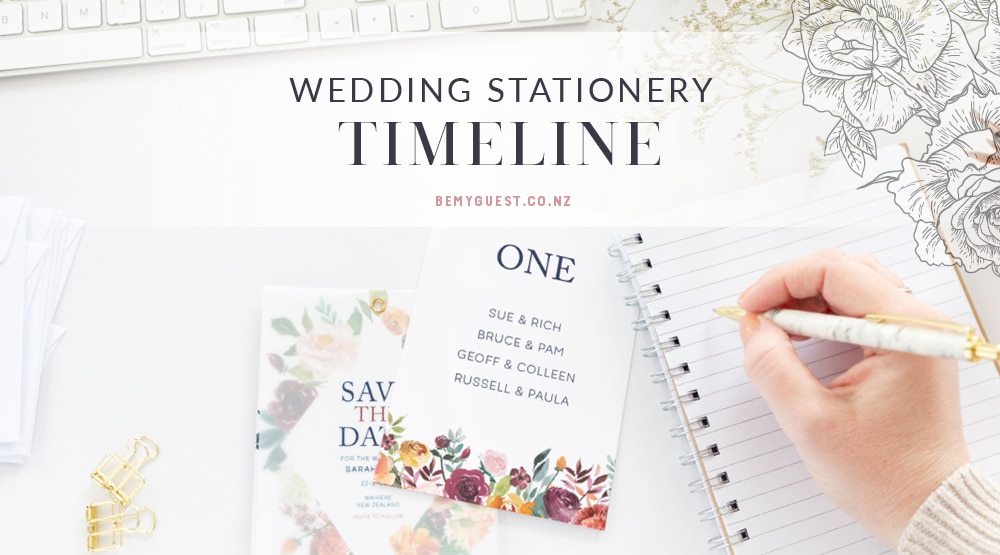
Your Essential Wedding Stationery Timeline & Checklists
This wedding invitation timeline has been developed to help New Zealand couples identify the important milestones to meet when planning, ordering and sending save the dates, wedding invitations, signage and day-of stationery
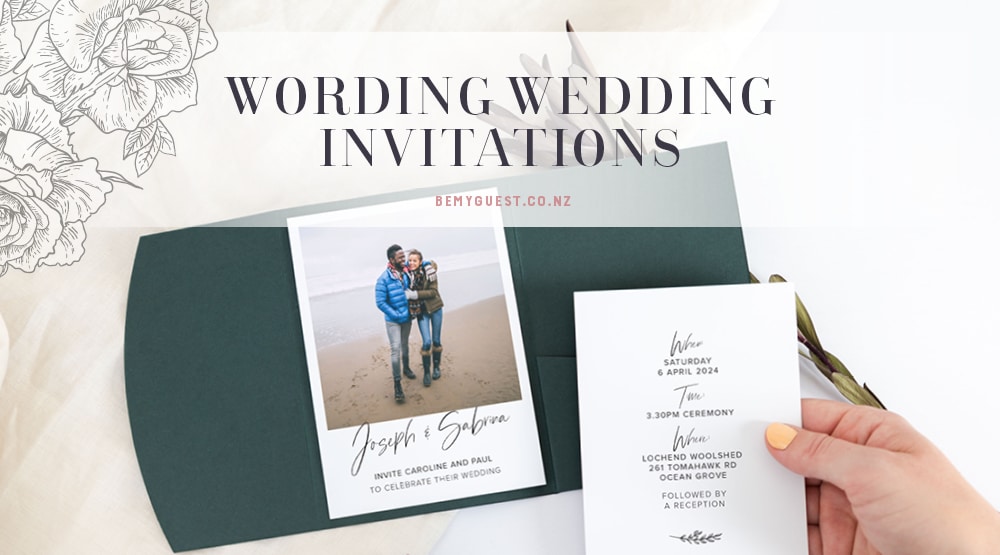
Wording Wedding Invitations
Wording your wedding invitations is easy with this guide. Learn the rules for wedding cards wording, plus example wording for wedding invites
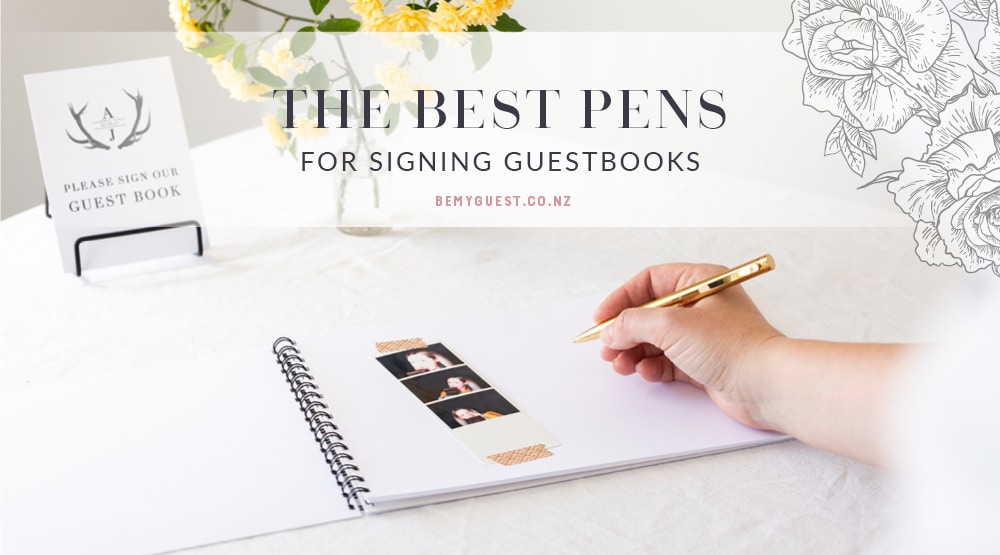
The Best Pens for Signing Guestbooks
We’ve trialled tons of pens for signing guestbooks. Check out the different options and things to consider.
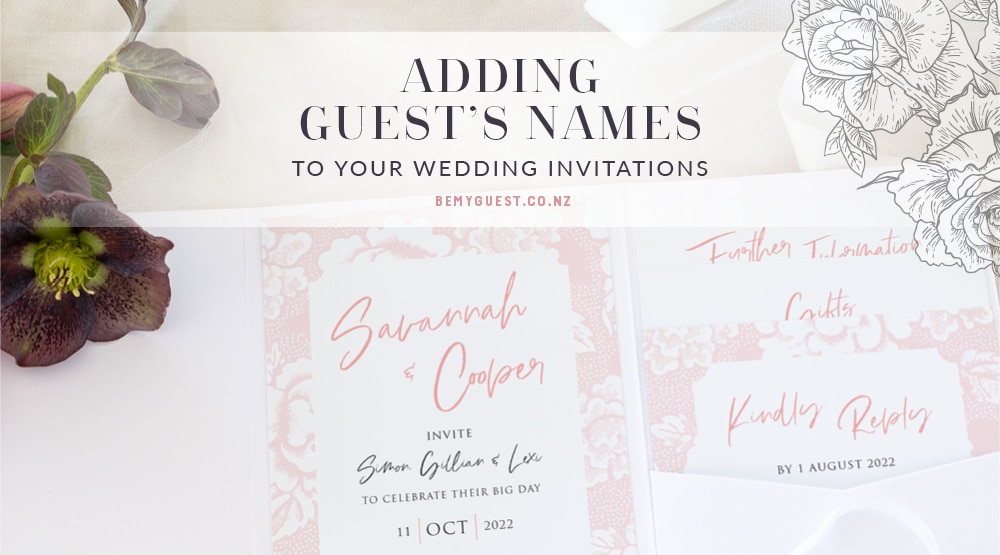
Adding guest’s names to wedding invitations & stationery
Personalising invites with your loved one’s names is an elegant introduction to your wedding festivities.
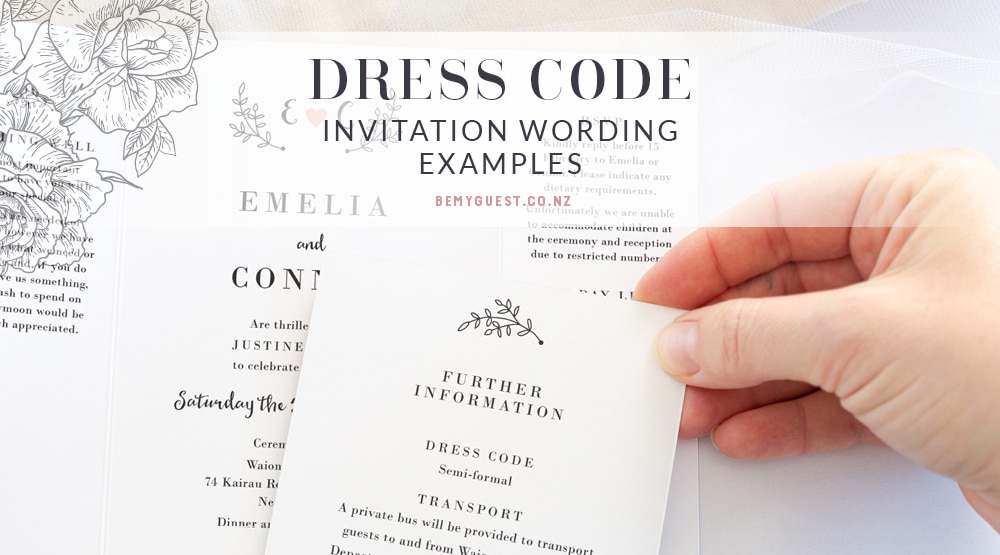
Wording Wedding Dress Codes
Wording what wedding dress code can be tricky! Here we have examples of the different dress styles and how to specify wedding guest attire
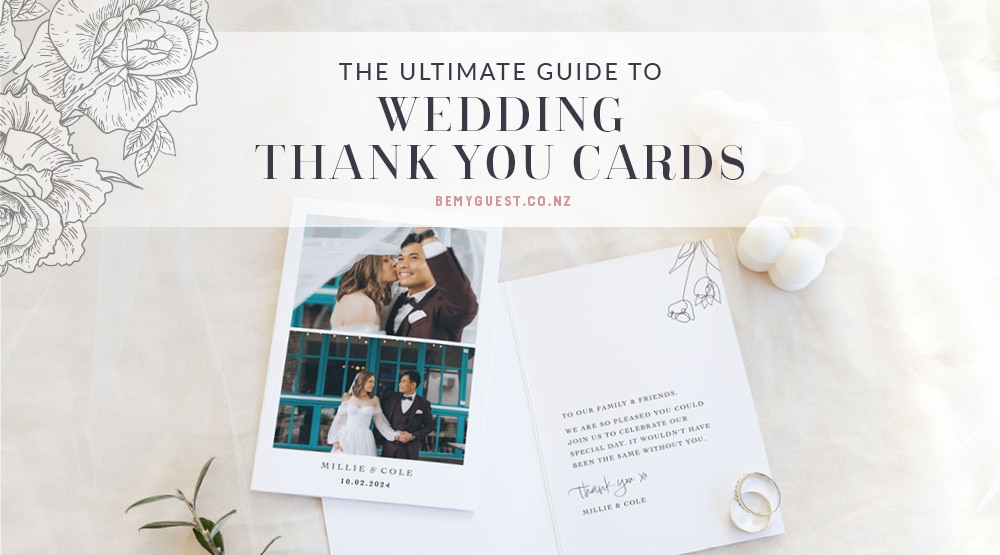
The Ultimate Wedding Thank You Card Guide
Writing your wedding thank you cards is the final wedmin task. We’ve put together the “The Ultimate Guide to Wedding Thank You Cards” to help
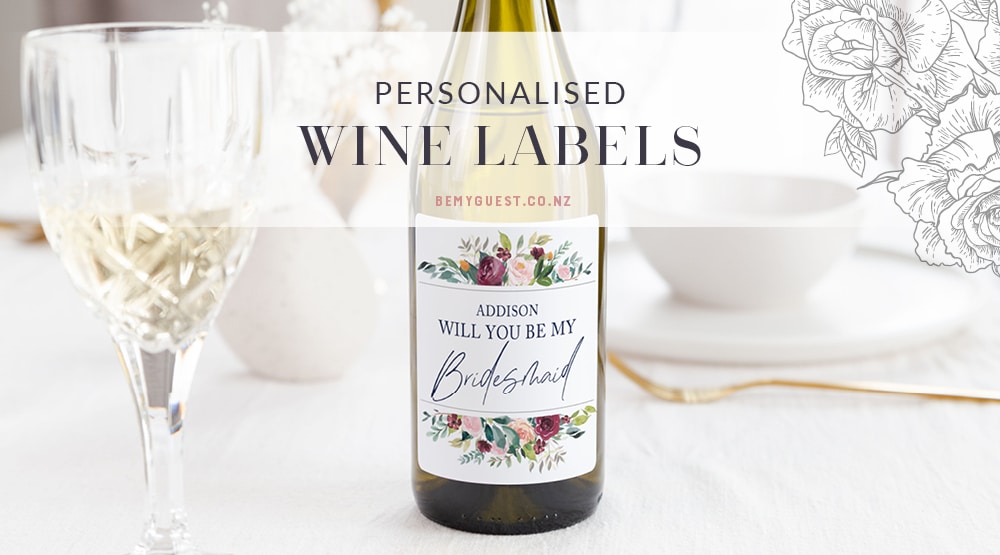
How to Apply Custom Wine Labels
Custom wine labels are a fantastic way to personalise gifts for any occasion. Here’s everything you need to know about creating, removing, and applying custom wine labels, ensuring your bottle looks perfect.
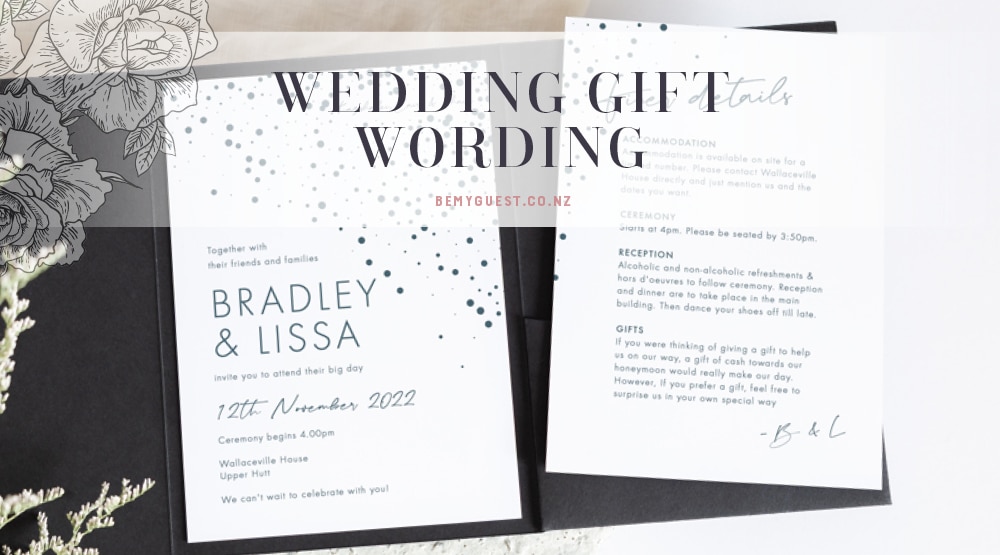
Wedding Gift Wording
Advice, tips and examples for how to ask for specific gifts on your wedding invitations, including cash/wishing wells and registry options

The Ultimate Guide to Wedding Seating Planning
Getting organised for your wedding reception? One of the trickiest tasks is trying to figure out where everyone will sit for the speeches and meal.
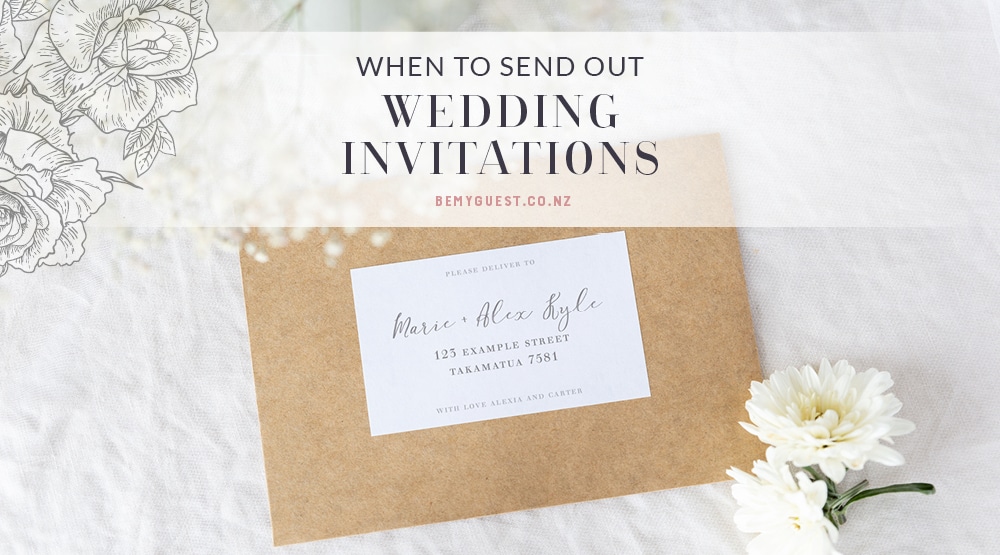
When to send out your wedding invitations
This New Zealand-specific guide covers when to send out wedding invitations to friends and family – so they have all the details to attend!